Taking Photos of Your Office Space
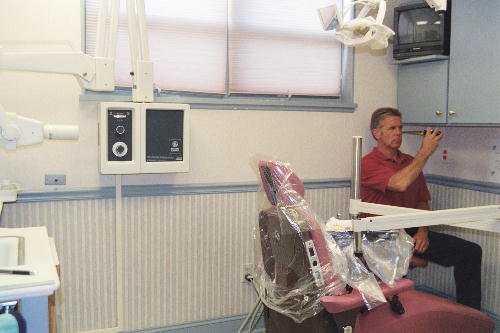
To give our technicians a complete perspective of the office space where you plan to install our Ceph System, follow the instructions below for taking photos of the office space.
What to Look for in Determining DIRECTION & LOCATION.
(i.e. Standard ==> or Reverse <== from the perspective of looking at the wall.)
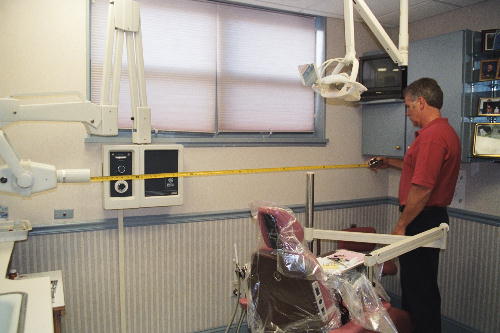
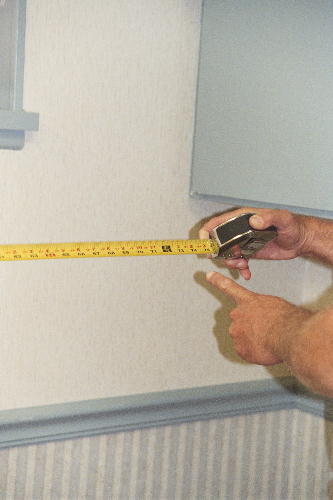
This distance can be interrupted by: a window, x-ray control box, doorway, etc.
The average distance between the CX2100 fixator/collimator mounting plate and the head positioner mounting plate is 51 1/2 to 55 1/2 inches.
The CX2100 is designed to provide the most reliable of tools for maximum visualization and diagnosis of cephalometric radiographs.
The CX2100 incorporates and provides you with features which are necessary to meet the demands of today’s orthodontic arena yet are not available on most other manufactured units.
Setting the X-Ray Head
Set the x-ray head and arm in the assumed position for taking a ceph.
(end and center of PID is 12″ out from wall)
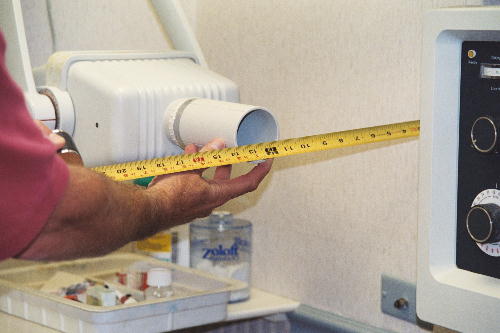
Set same at approximately 50 inches from the floor.
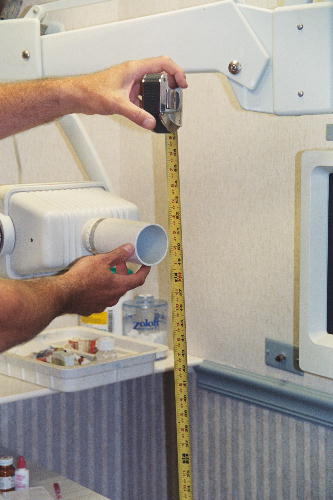
NOTE: Total distance needed from end of PID to the farthest end of the Ceph H.P. mounting plate is approximately 69 inches.
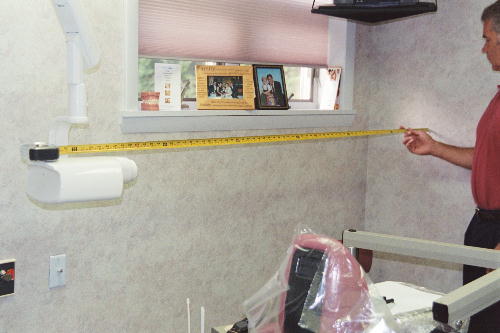
Measure from focal spot (if located on the x-ray head), or from the end of the PID.
For 8″ PID, the end of the PID to the location of the cassette is 57″
For 12″ PID, the end of the PID to the location of the cassette is 53″
The end of the PID (which fits into the Box-Type collimator is the same distance as the end of the collimator.
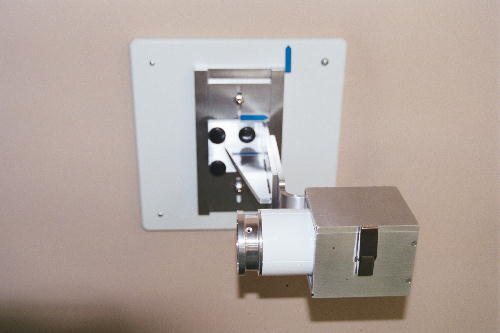
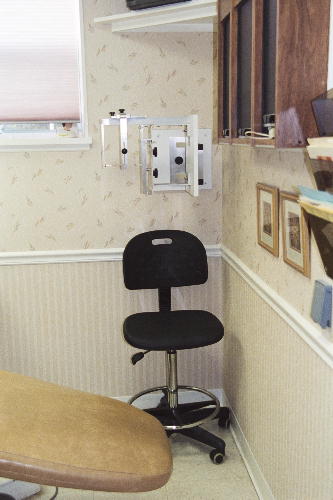
Check if space is adequate for the patient – assume the position of the seated patient to assure accessibility and comfort.
